
High-Accuracy AC Split-Core CTs (AccuCT)
Visit the online store page
High-Accuracy AC Split-Core CTs work the same as standard AC Split-Core CTs but are certified for ANSI C12.20 0.5% accuracy when used with eGauge meters. Some applications such as revenue billing may require certified CTs to be used. For pricing and available models, see the online store.
Larger, 80mm 0.5% ANSI revenue grade accurate CTs are also available.
|
|
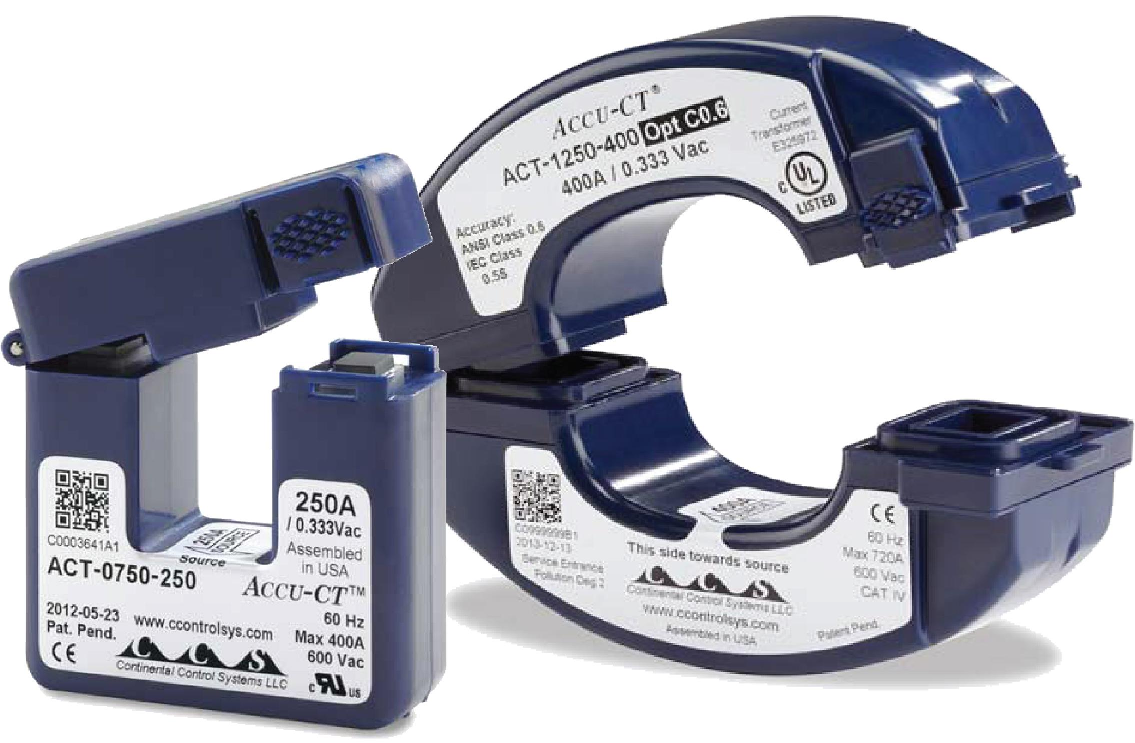
| C0.6 certified high-accuracy CTs |
Specifications
Full specs (data-sheet PDF)
- ANSI C12.20 0.5% revenue grade accurate with eGauge Core or Pro meter
- UL 2808 Listed, CE mark, RoHS
- IEEE/ANSI C57.13, Class 0.6
- IEC 60044-1 0.5s class
- 333.33 mVrms voltage output at rated full scale current
- Optional C0.6 certificate when ordered
- 2.4m (8') twisted pair 20 AWG lead with CT connector
- 50/60 Hz
- 5-year Limited Warranty
- 20mm version:
- -40 °C to 80 °C
- CAT III: 600 Vac
- CAT IV (service entrance): 250 Vac
- 32mm version:
- -30 °C to 75 °C
- CAT III: 250 Vac
- CAT IV (service entrance): 600 Vac
Hardware included
- 1x AccuCT split-core CT with built-in 8 foot leads and 2-pin plug affixed
Assembly/installation information
See the Installation Overview Tips to get started.
-
To reduce risk of electric shock, open or disconnect circuits from the power distribution system (or service) of the building before installing or serving CTs.
- Open the CT by gently squeezing the textured latch and then rotating the top open. Do not touch the polished ferrite core surfaces. Any oils or debris in that area worsens accuracy.
- Slide the CT over the conductor of the circuit to be measured. Make sure the sticker on the CT points in the direction of the primary current flow (the current flow that should yield a positive power reading).
- Close the CT by gently pushing down on top of the CT until the latch engages.
- Verify that the CT is fully closed by squeezing together the top and bottom parts of the CT.
- Optional: secure the CT to the conductor with a cable tie.
- Route the twisted pair wires of the CT to the meter such that they do not directly contact live terminals or bus bars.
- Plug the 2-pin terminal at the end of the twisted pair wires into an unused port on the meter.
- Configure the sensor input in the meter interface and complete the general configuration.
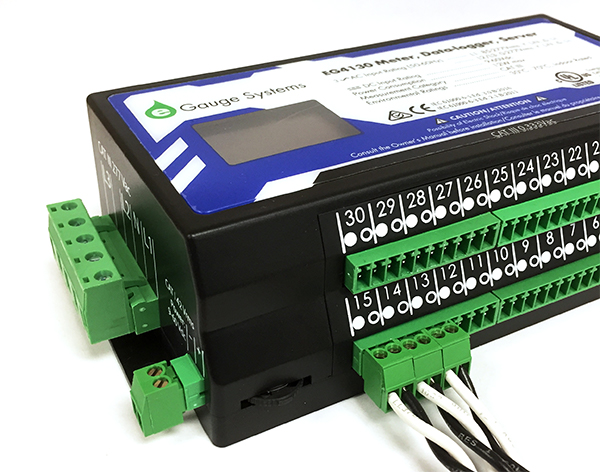 |
| CTs connected to eGauge meter. |