
I've erased all of my data, how can I get it back?
Overview
From firmware version 3.6.3 onward, the eGauge meter will ask the user whether they want to clear historical data after making changes to the Installation page (located at Settings -> Installation). This is a convenience feature for new installs. Since data recorded prior to configuration is generally not accurate, it makes sense to remove this data as part of the configuration process. However, users unfamiliar with this feature may accidentally clear data without intending to do so. Fortunately, this data is not erased - rather, it is simply hidden from view. This article explains the process to recover data hidden in this way. A brief video tutorial is also available.
The Zero Out Data tool erases data permanently. If data was cleared using this tool, it cannot be recovered.
Recovery process
The following prompt will appear immediately after clicking "Save" on the Installation page for any meter running firmware version 3.6.3 or later. The recovery steps after this point assume the user has clicked "OK" on this prompt.
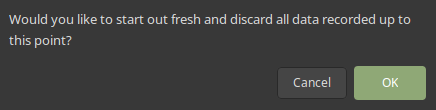
Note that the meter will also ask the user if they want to reboot the meter - the meter must be rebooted when prompted, or the configuration may not be saved properly. Certain configuration changes don't require a reboot, but generally the meter must be rebooted when prompted.
Assuming the user has erroneously cleared data, the process to recover that data is as follows:
If the user doesn't know when the meter actually started recording valid data:
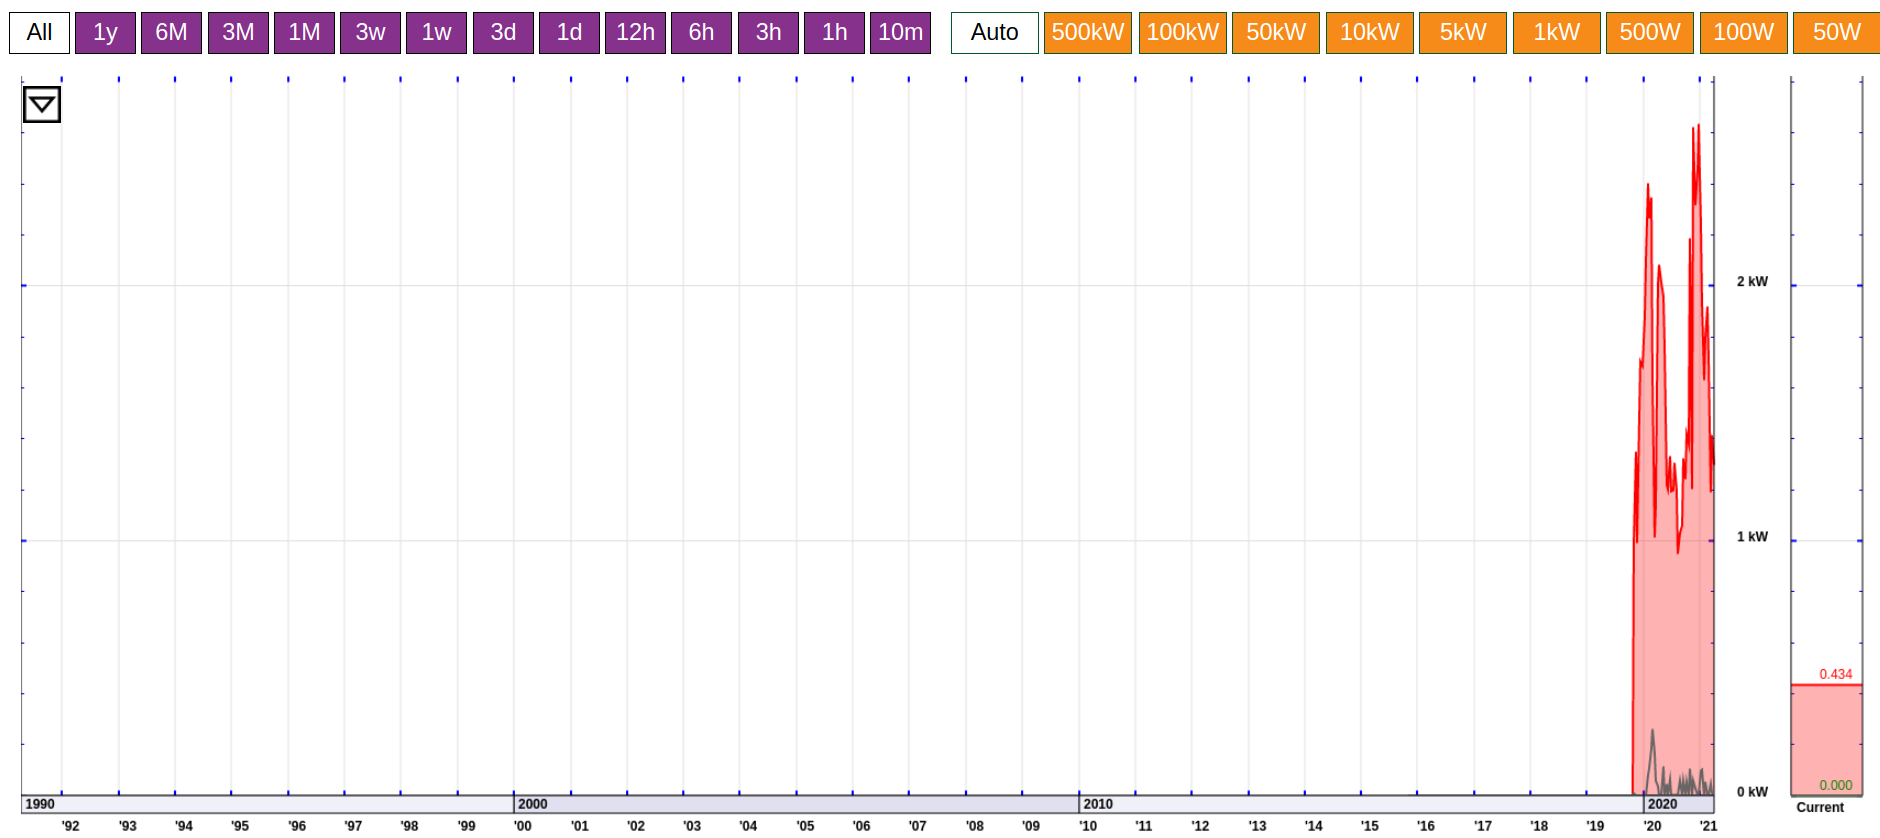
5. Using the click to zoom function, zoom in on the start of recording (in this example, recording started around October 27th 2019, with some junk data prior to that point):
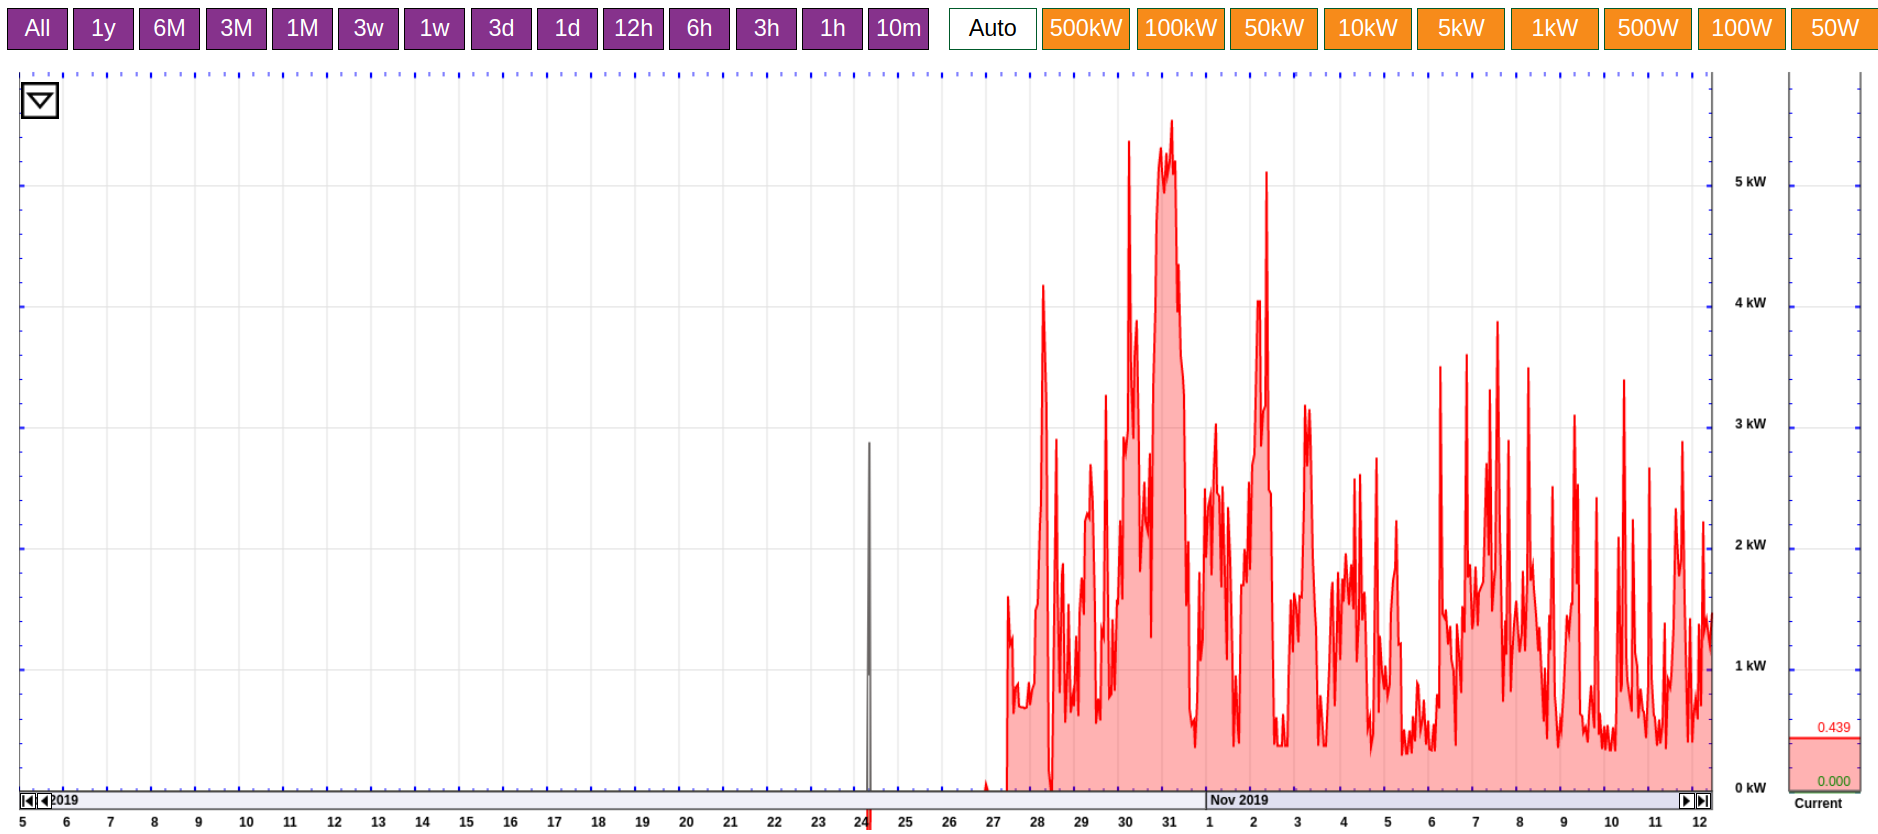
6. Make a note of the actual start of recording, then navigate back to Settings -> General Settings.
7. Enter the actual start of recording in "Date & time when recording started" and click "Save"
Video Tutorial
The following video contains a video example of the process described above.