|
| [](https://store.egauge.net/egauge-core "eGauge Core Store Page") | [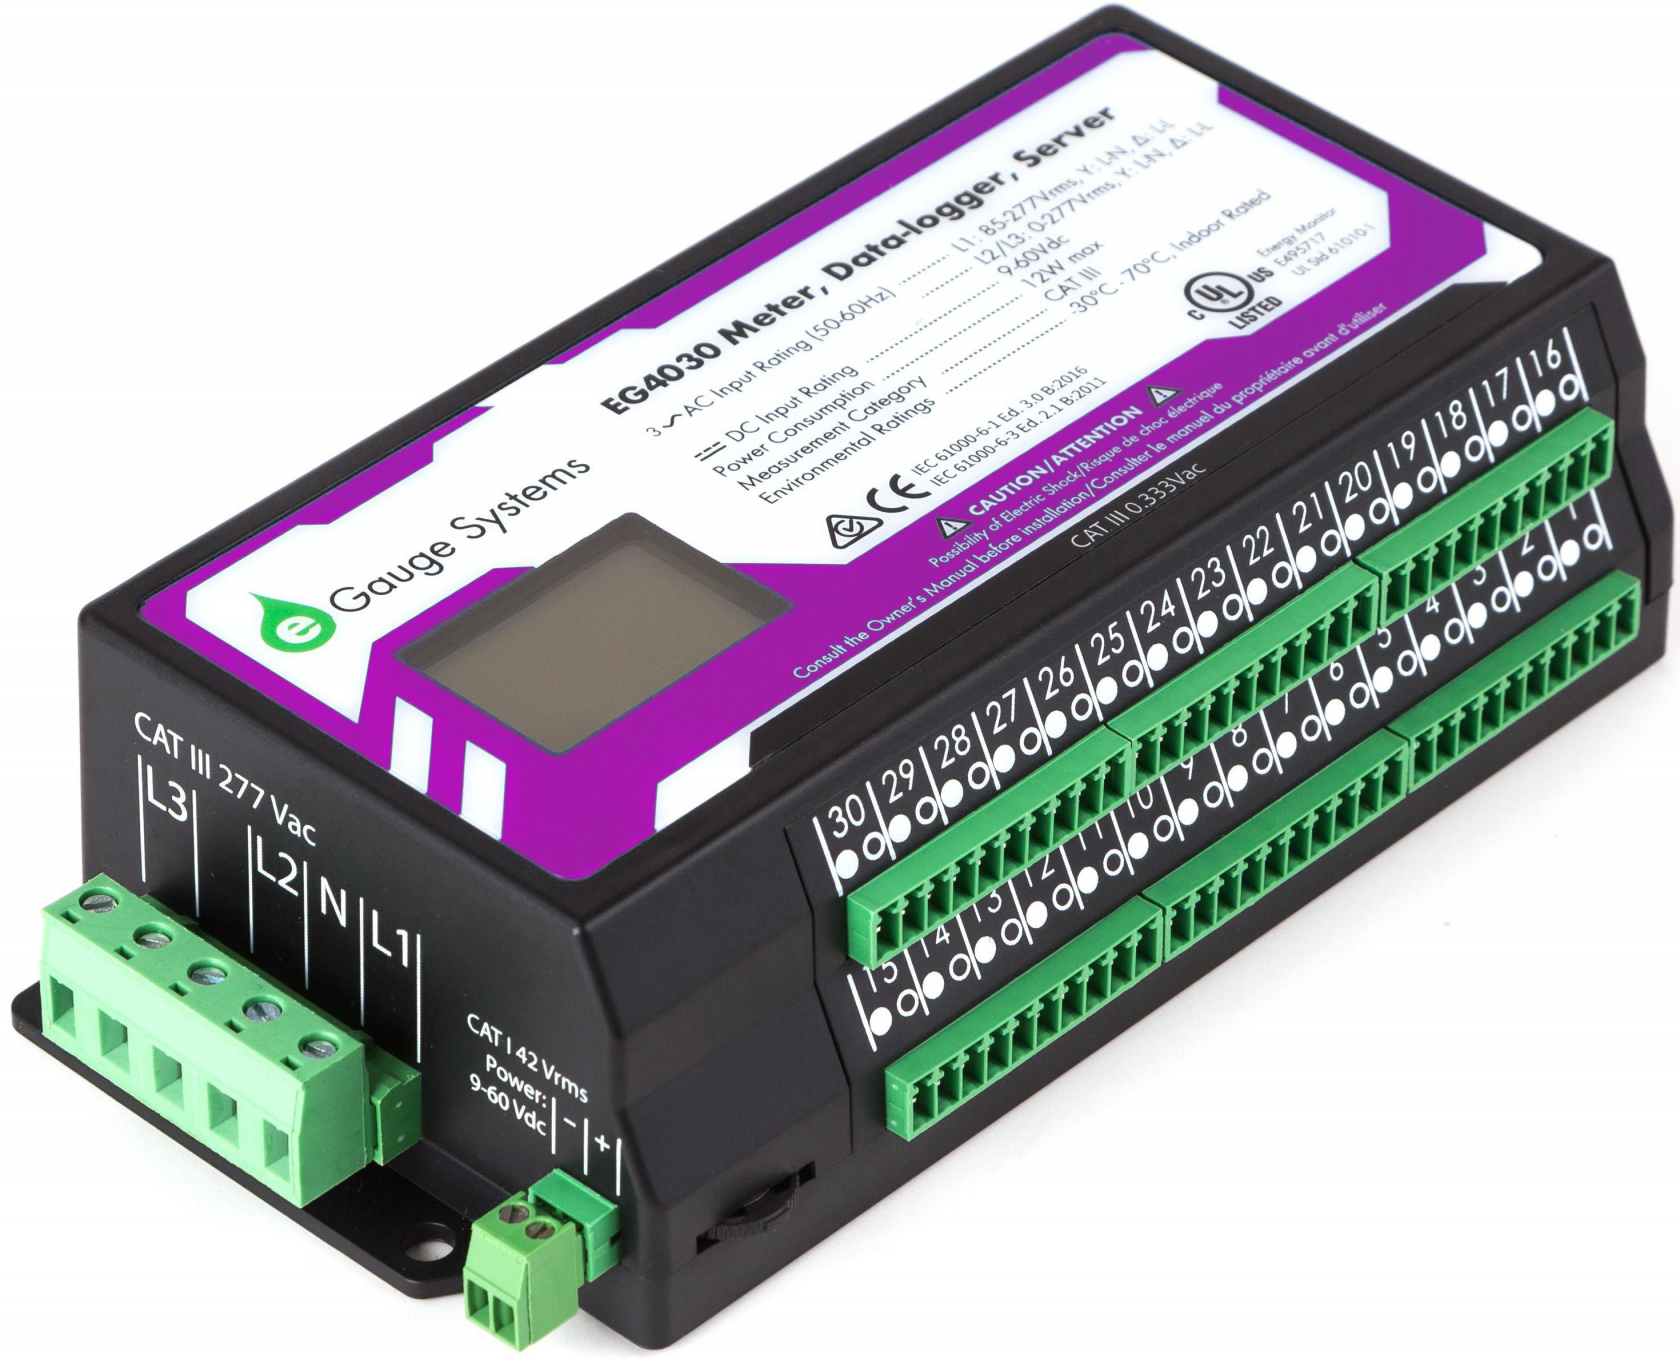](https://store.egauge.net/egauge-pro-v2 "eGauge Pro Online Store Page") | [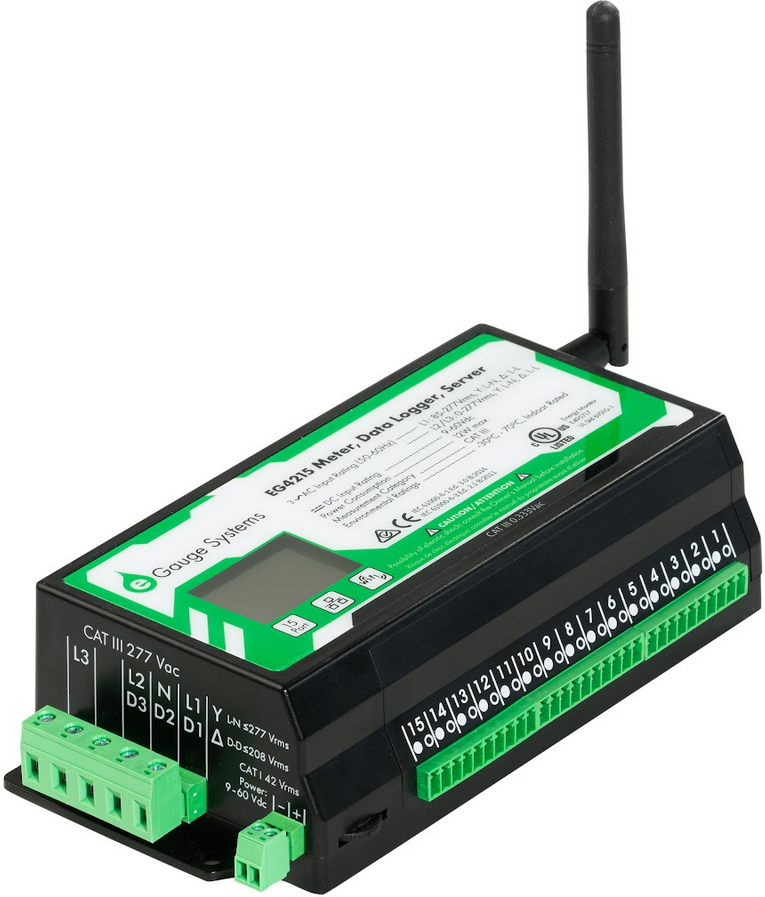](https://kb.egauge.net/uploads/images/gallery/2024-03/vgoimage.png)
| [](https://kb.egauge.net/uploads/images/gallery/2024-03/YjNimage.png)
|
| Name | eGauge Core | eGauge Pro | eGauge Core WiFi
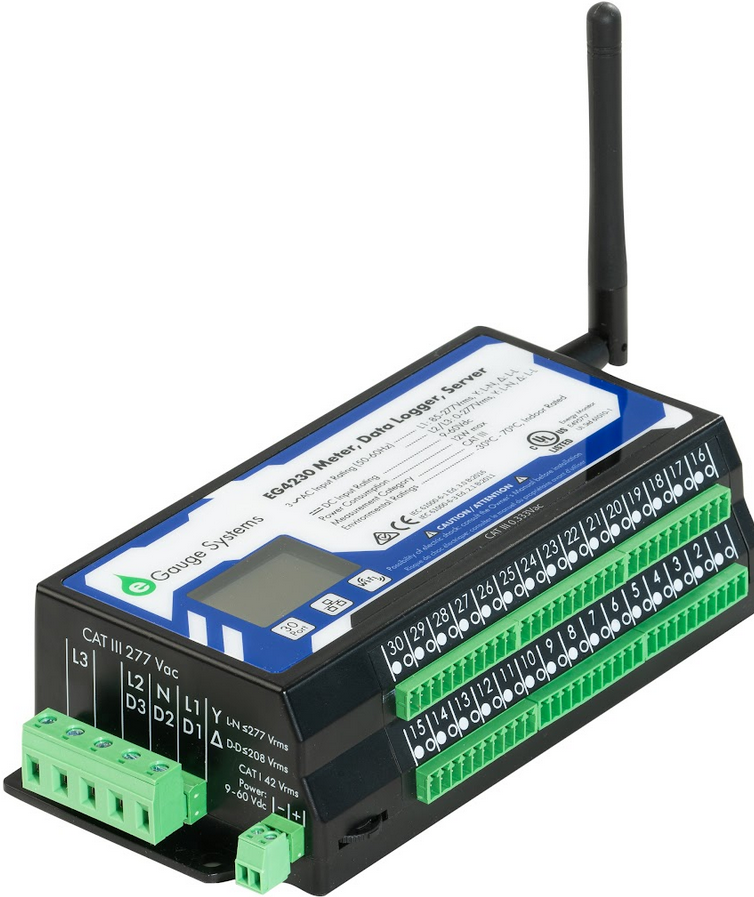
| eGauge Pro WiFi
|
| Model | EG4015 | EG4030 | EG4215
| EG4230
|
| Sensor Inputs | 15 | 30 | 15
| 30
|
| Full Spec Sheet | [Download](https://www.egauge.net/media/support/docs/eg4015-datasheet.pdf) | [Download](https://www.egauge.net/media/support/docs/eg4030_datasheet.pdf "https://www.egauge.net/media/support/docs/WEB-EG4030-datasheet.pdf") | [Download](https://www.egauge.net/media/support/docs/EG4215-datasheet-WEB.pdf) | [Download](https://www.egauge.net/media/support/docs/EG4230-datasheet-WEB.pdf)
|
| Online Store Link | [Store Link](https://store.egauge.net/egauge-core) | [Store Link](https://store.egauge.net/egauge-pro-v2) | [Store Link](https://store.egauge.net/egauge-core-wifi) | [Store Link](https://store.egauge.net/egauge-pro-wifi) |
| AC voltages | (0 to 277) Vac Phase-Neutral, (0 to 480) Vac Phase-Phase, 50/60Hz |
| DC voltage range | ± 60 Vdc
|
| Current measurements | 6900 A Max
|
| Logging capabilities | V, A, W, Wh, Hz, VA, VAr, THD, deg, and more
|
| Onboard logging capacity | Last hour: 1 second granular
Last year: 1 minute granular
Last 10 years: 15-minute granular
Meter Lifetime: 1-day granular
|
| Ethernet | Yes
|
| USB | 2x USB 2.0 ports for power or supported communication options
|
| LCD Screen | Display kW, kWh and other information, limited configuration and tools
|
| Modbus | Modbus TCP, Modbus RTU (with USB485 serial converter), [input](https://kb.egauge.net/books/egauge-meter-communication/page/creating-sharing-and-using-modbus-maps) and [export](https://kb.egauge.net/books/egauge-meter-communication/page/modbus-output-communication) |
| BACnet | [BACnet](https://kb.egauge.net/books/egauge-meter-communication/chapter/bacnet) IP and MS/TP, export (with USB485 serial converter)
|
| API access
| [XML API](https://kb.egauge.net/books/egauge-meter-communication/chapter/xml-api), [JSON API](https://kb.egauge.net/books/egauge-meter-communication/chapter/json-webapi) automatic data push or poll. JSON API has configuration support and many more features than the XML API.
|
| Accuracy | ANSI C12.20 0.5% Accuracy Compliance
|
| Certifications | UL, FCC, CE
|