# Configuration
# What password do I use to save a change to the settings?
#### For meters purchased on or after Jan 2021:
Meters shipped after January 2021 will come with a random password assigned to the meter at the time of manufacture. This password is printed on the side of the meter opposite the CT ports. Assuming the meter still has the default eGauge configuration, you may use the following credentials to make changes:
user: **owner**
pass: <refer to label>
In order to use these credentials, you must ensure that you are directly connected to the device by clicking the **LAN Access** link at the top right of the device web page before entering credentials. When done correctly, the address in your browser address bar will change from a full URL (for example, http://**DEVNAME**.egaug.es or https://**DEVNAME**.egauge.io for meters sold after January 1, 2024) to an IP address (for example, 192.168.1.88).
eGauge Systems does not maintain a record of the password associated with a meter. A remote password reset can be performed **[through eGuard](https://kb.egauge.net/books/eguard-portfolio-manager/page/resetting-an-egauge-password-through-eguard)**, but the original password cannot be restored.
Note that a factory reset will restore the password the meter originally came with.
---
#### For meters purchased prior to Jan 2021:
Assuming the device comes with the default eGauge configuration, you may use the following credentials to make changes:
user: **owner**
password: **default**
In order to use these credentials, you must ensure that you are directly connected to the device by clicking the **LAN Access** link at the top right of the device web page before entering credentials. When done correctly, the address in your browser address bar will change from a full URL (for example, http://DEVNAME.egaug.es) to an IP address (for example, 192.168.1.88).
See [this article](https://kb.egauge.net/books/general/page/what-can-i-do-if-ive-lost-my-device-password "What can I do if I've lost my device password?") if you're having trouble remembering your password.
# What CT do I choose from the CT drop-down selection?
You may also wish to refer to our [CT Selection Guide](https://kb.egauge.net/books/egauge-meter-configuration/page/ct-selection-guide "CT selection guide") for additional information. For [firmware versions](http://www.egauge.net/revs/) prior to v2.16, the CT is identified by the amperage rating of the installed CT (not the amperage rating of the circuit being monitored). Starting in firmware v2.16, each supported CT has its own drop-down menu selection. Firmware v3.02 added a 2-letter manufacturer prefix to the beginning of each entry. The CT drop-down menu format on firmware v3.02 and later is as follows:
> \[MFG\] \[MODEL\] \[SIZE\_MM\]/\[SIZE\_IN\] \[AMPERAGE\]
| \[MFG\] | 2-letter manufacturer code (see below table) |
| \[MODEL\] | Model of the CT (see below table) |
| \[SIZE\_MM\] | CT inner-diameter in millimeters |
| \[SIZE\_IN\] | CT inner-diameter in inches |
| \[AMPERAGE\] | CT amperage rating |
| MFG Code | Description |
|---|
| JD | J&D |
| CC | Continental Control Systems |
| ML | Magnelab |
| AE | AccuEnergy |
| RCT | Rogowski coil (rope CT) |
| CR | CR Magnetics |
| MODEL | Description |
|---|
| JS | Split-core CT |
| JRFS | Rogowski coil (rope CT) |
| ACT | High-accuracy split-core CT |
| SCT | Split-core CT |
| RCT | Rogowski coil (rope CT) |
| CR | Solid-core DC CT |
| CRS | Split-core DC CT |
For example, a 100A 0.94" J&D split-core CT (eGauge SKU JD-SCT-024-0100) should be configured as:
JD JS 24mm/0.94" 100A
# How do I change the color or style of my lines?
The default colors for Usage and Generation can be changed from the Preferences menu, under **Settings -> Preferences**. This can be helpful for users with red/green colorblindness. Note that this is a global change - every register without a custom line style will be modified.
1. Select **Settings** from the top right corner of the screen.
2. Select **Preferences** from the menu on the left side of the screen.
3. Navigate down the page to "Color that represents energy usage (negative numbers)" and "Color that will represent energy generation (positive numbers)". Clicking the colored box containing color hex codes will bring up a color selection palette. The selected color(s) will replace the default red/green coloration on every register (including the shaded areas "Energy Used" and "Energy Generated") except those that have different colors/line styles specified on the Preferences page.
4. Make sure to click "Save" at the bottom of the page.
You may use custom register styles to change the color and line style of a specific register. This can be done under **Settings -> Preferences**, in the "Custom Register Styles" field. Each custom register style has the following options:
| Register | Which physical register should appear in the defined style |
| Color | Color for the chosen register (clicking here opens a color palette) |
| Line | Line style and thickness |
| Sign | Whether to style the line for positive, negative, or both signs |
The [Zero Out Data](https://kb.egauge.net/books/advanced-egauge-operation/page/zero-out-dataspikes-tutorial) tool **erases data permanently**. If data was cleared using this tool, it *cannot* be recovered.
### Recovery process
The following prompt will appear immediately after clicking "Save" on the Installation page for any meter running firmware version 3.6.3 or later. The recovery steps after this point assume the user has clicked "OK" on this prompt.
[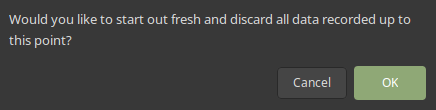](https://kb.egauge.net/uploads/images/gallery/2021-04/image-1617396450858.png)
Note that the meter will also ask the user if they want to reboot the meter - the meter *must* be rebooted when prompted, or the configuration may not be saved properly. Certain configuration changes don't require a reboot, but generally the meter must be rebooted when prompted.
Assuming the user has erroneously cleared data, the process to recover that data is as follows:
1\. Navigate to **Settings -> General Settings**.
2\. Under "Date & time when recording started", enter the date and time when recording actually started (generally when the meter was installed).
3\. Click "Save" at the bottom of the page.
If the user doesn't know when the meter actually started recording valid data:
1\. Navigate to **Settings -> General Settings**.
2\. Set "Date & time when recording started" to a point far in the past (eg, 1/1/2020 12:00am)
3\. Click "Save" at the bottom of the page.
4\. Navigate back to the main graph page and use the purple buttons above the graph to select the "All" zoom option:
[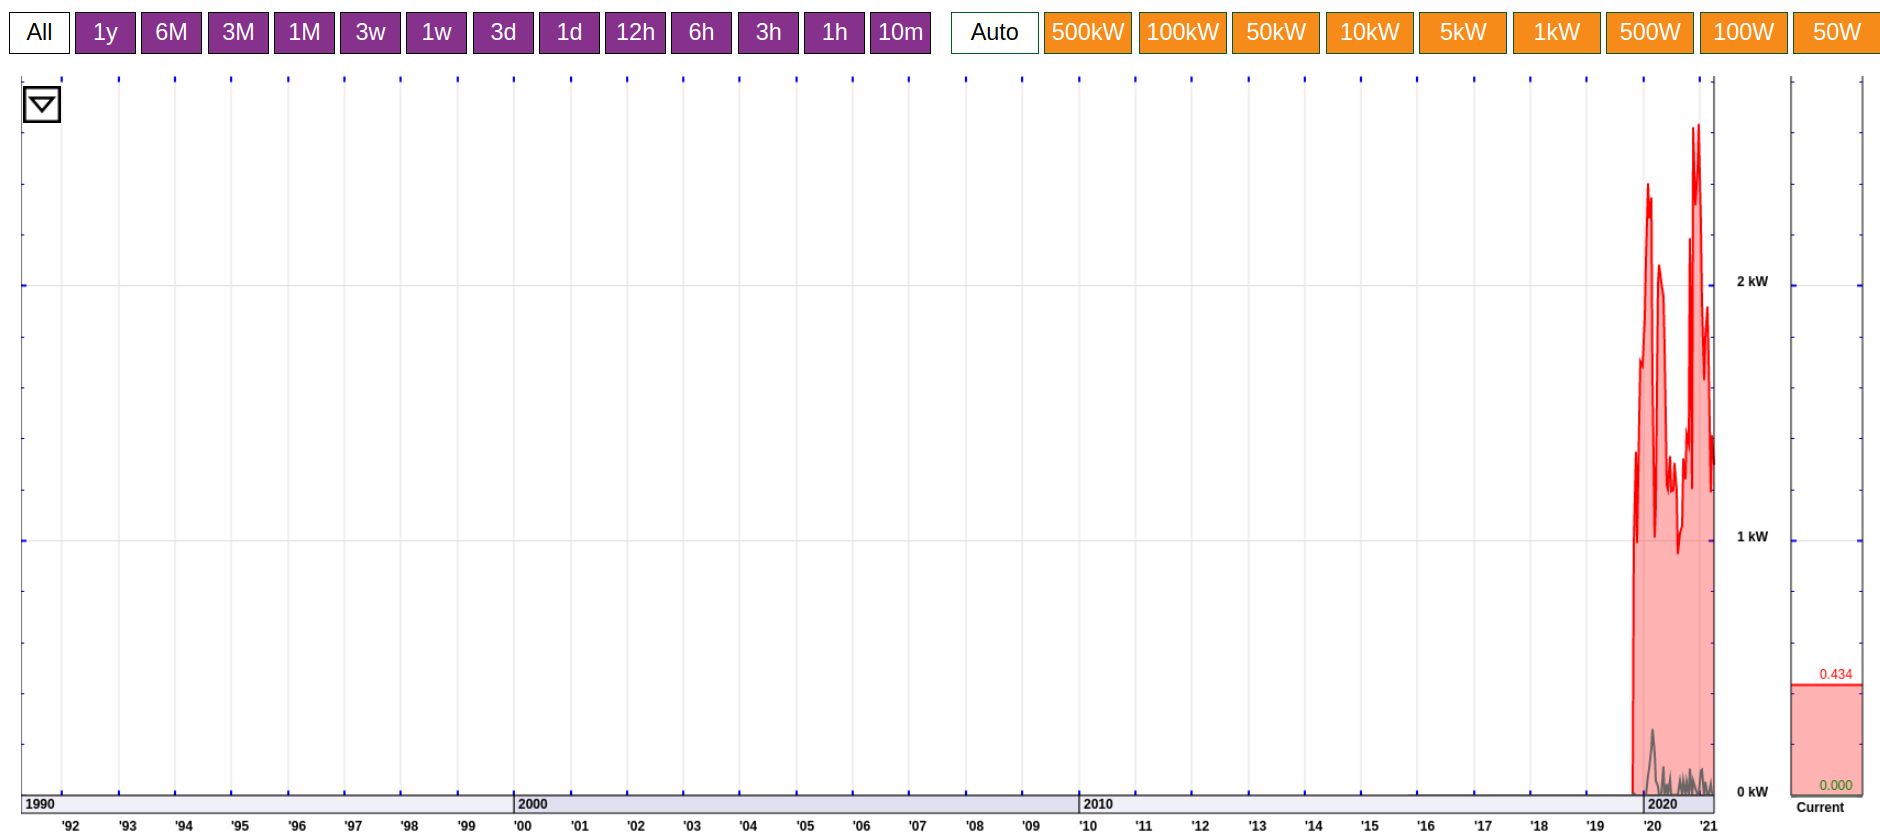](https://kb.egauge.net/uploads/images/gallery/2021-04/image-1617396733129.png)
5\. Using the [click to zoom function](https://kb.egauge.net/books/egauge-meter-ui/page/using-the-click-to-zoom-function), zoom in on the start of recording (in this example, recording started around October 27th 2019, with some junk data prior to that point):
[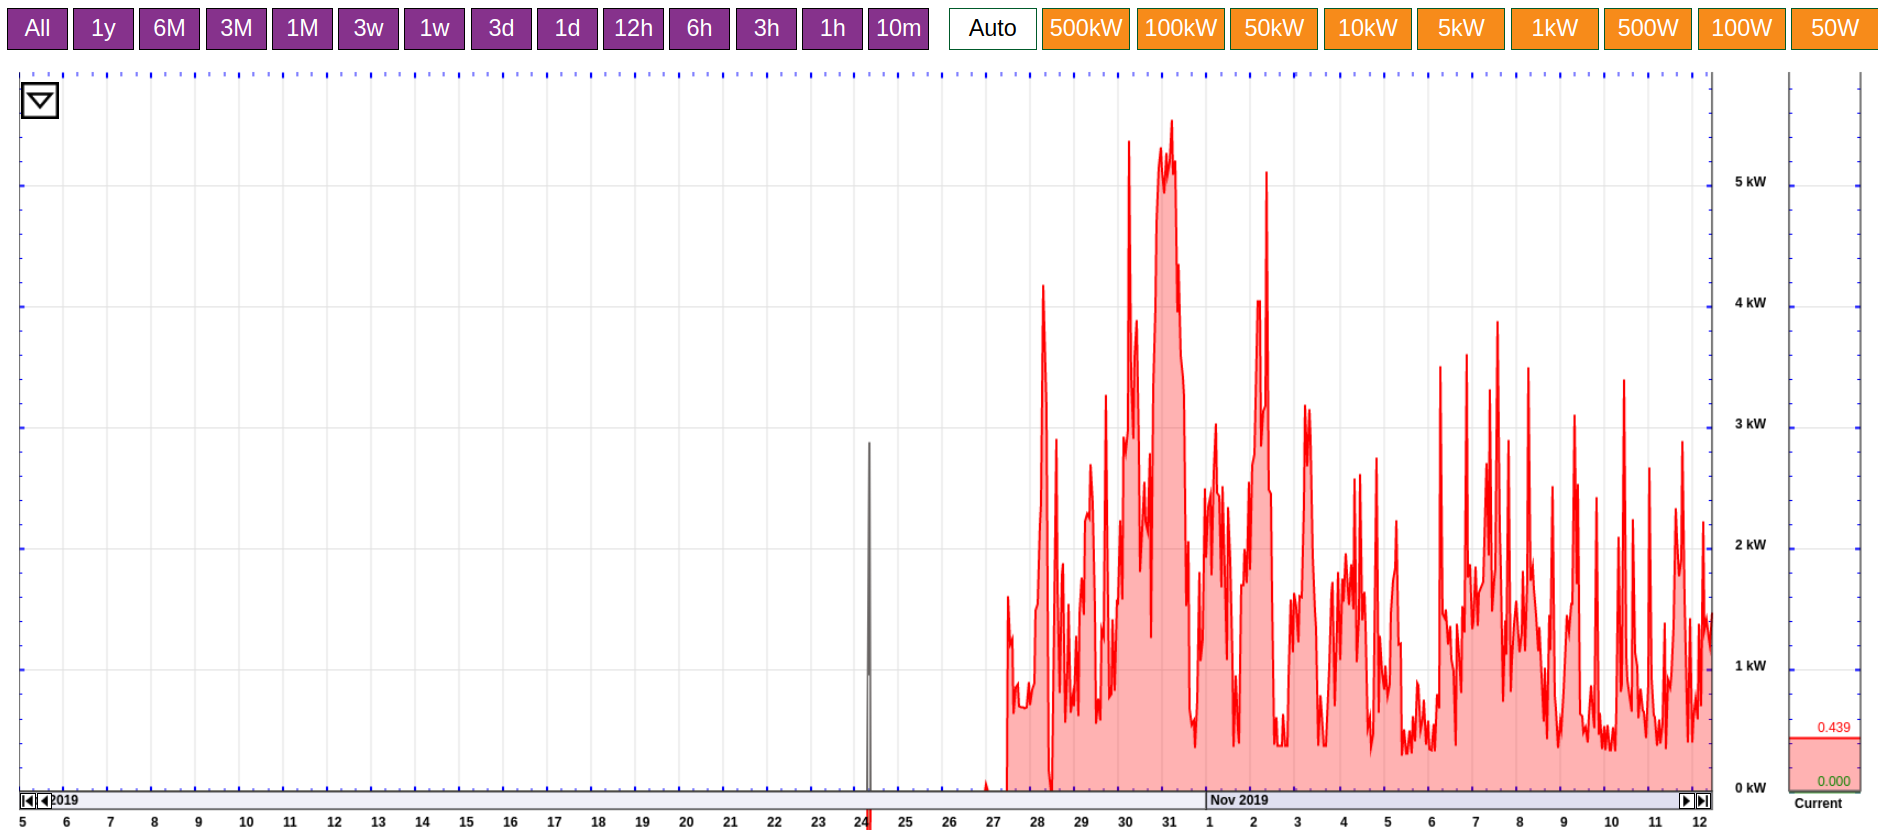](https://kb.egauge.net/uploads/images/gallery/2021-04/image-1617396798062.png)
6\. Make a note of the actual start of recording, then navigate back to **Settings -> General Settings**.
7\. Enter the actual start of recording in "Date & time when recording started" and click "Save"
### Video Tutorial
The following video contains a video example of the process described above.